Tandberg TP41/Portable 41 AM/FM/SW Radio
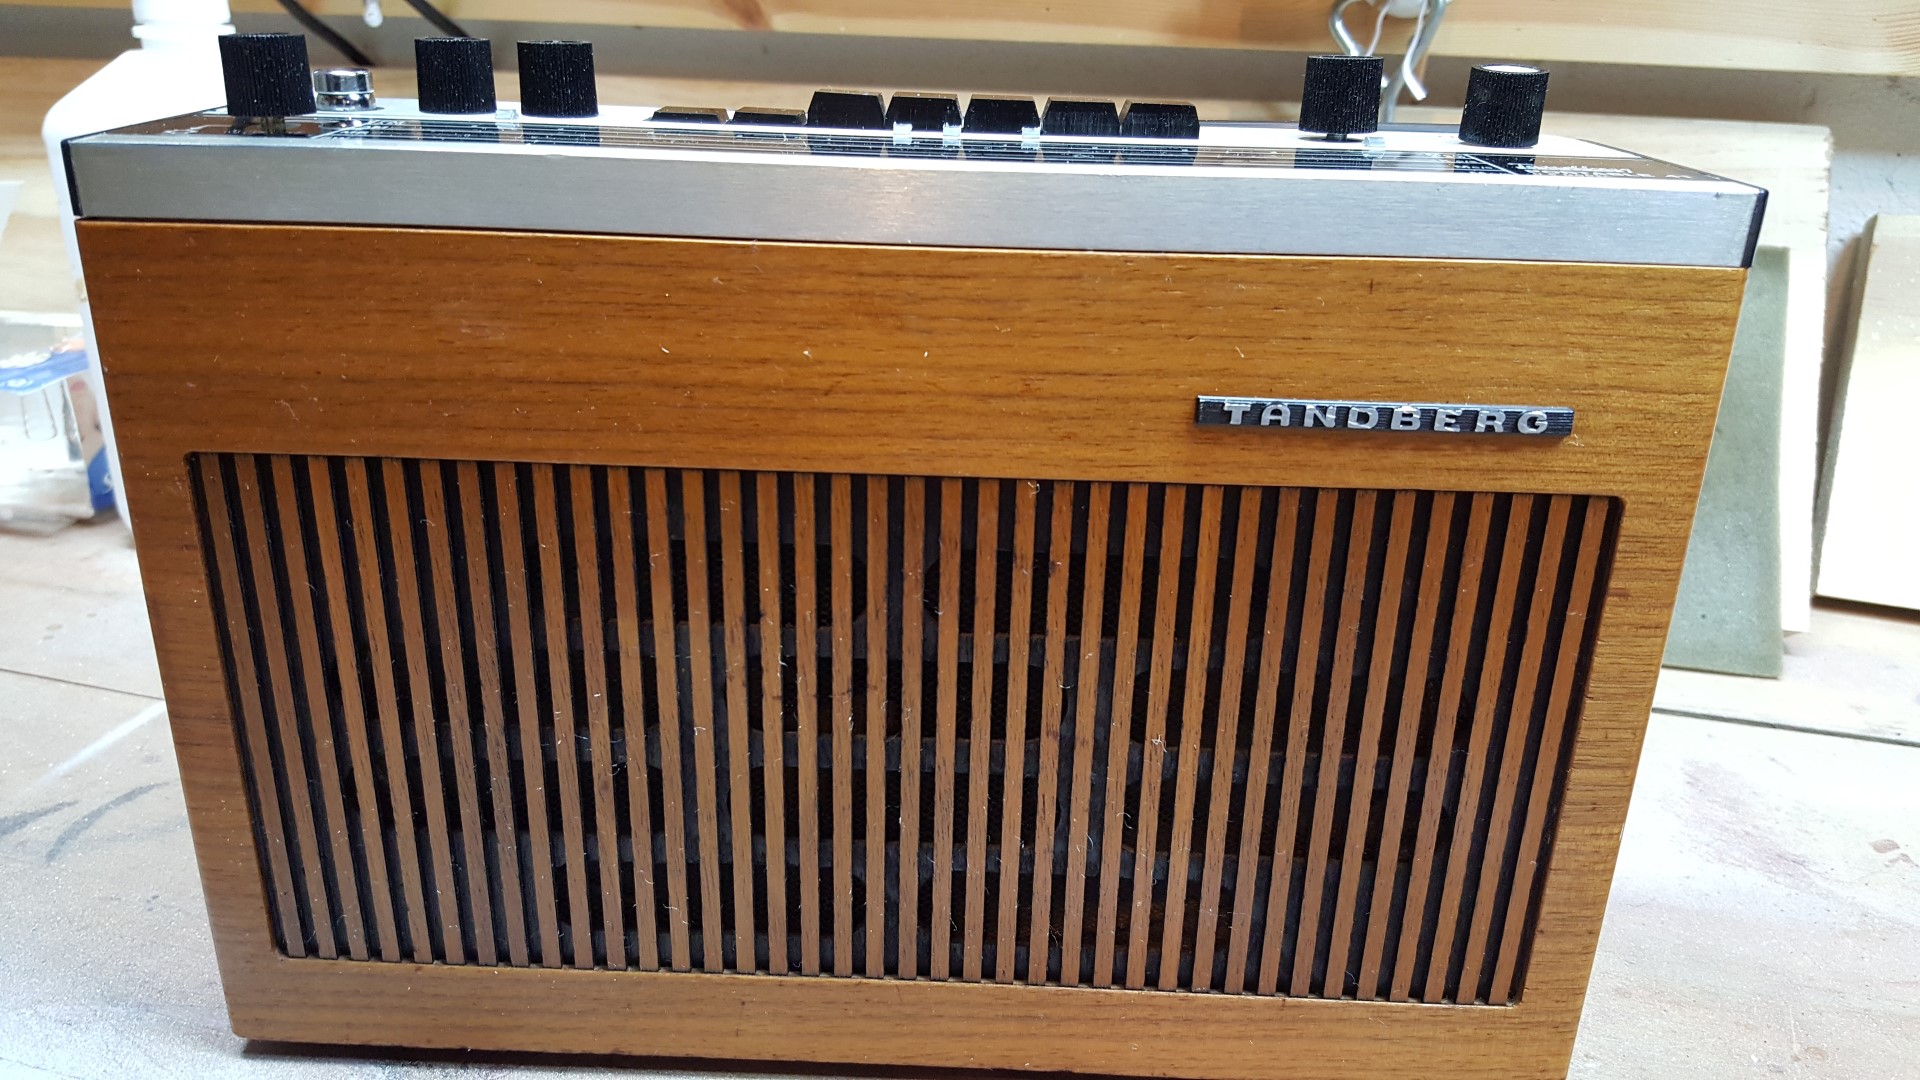
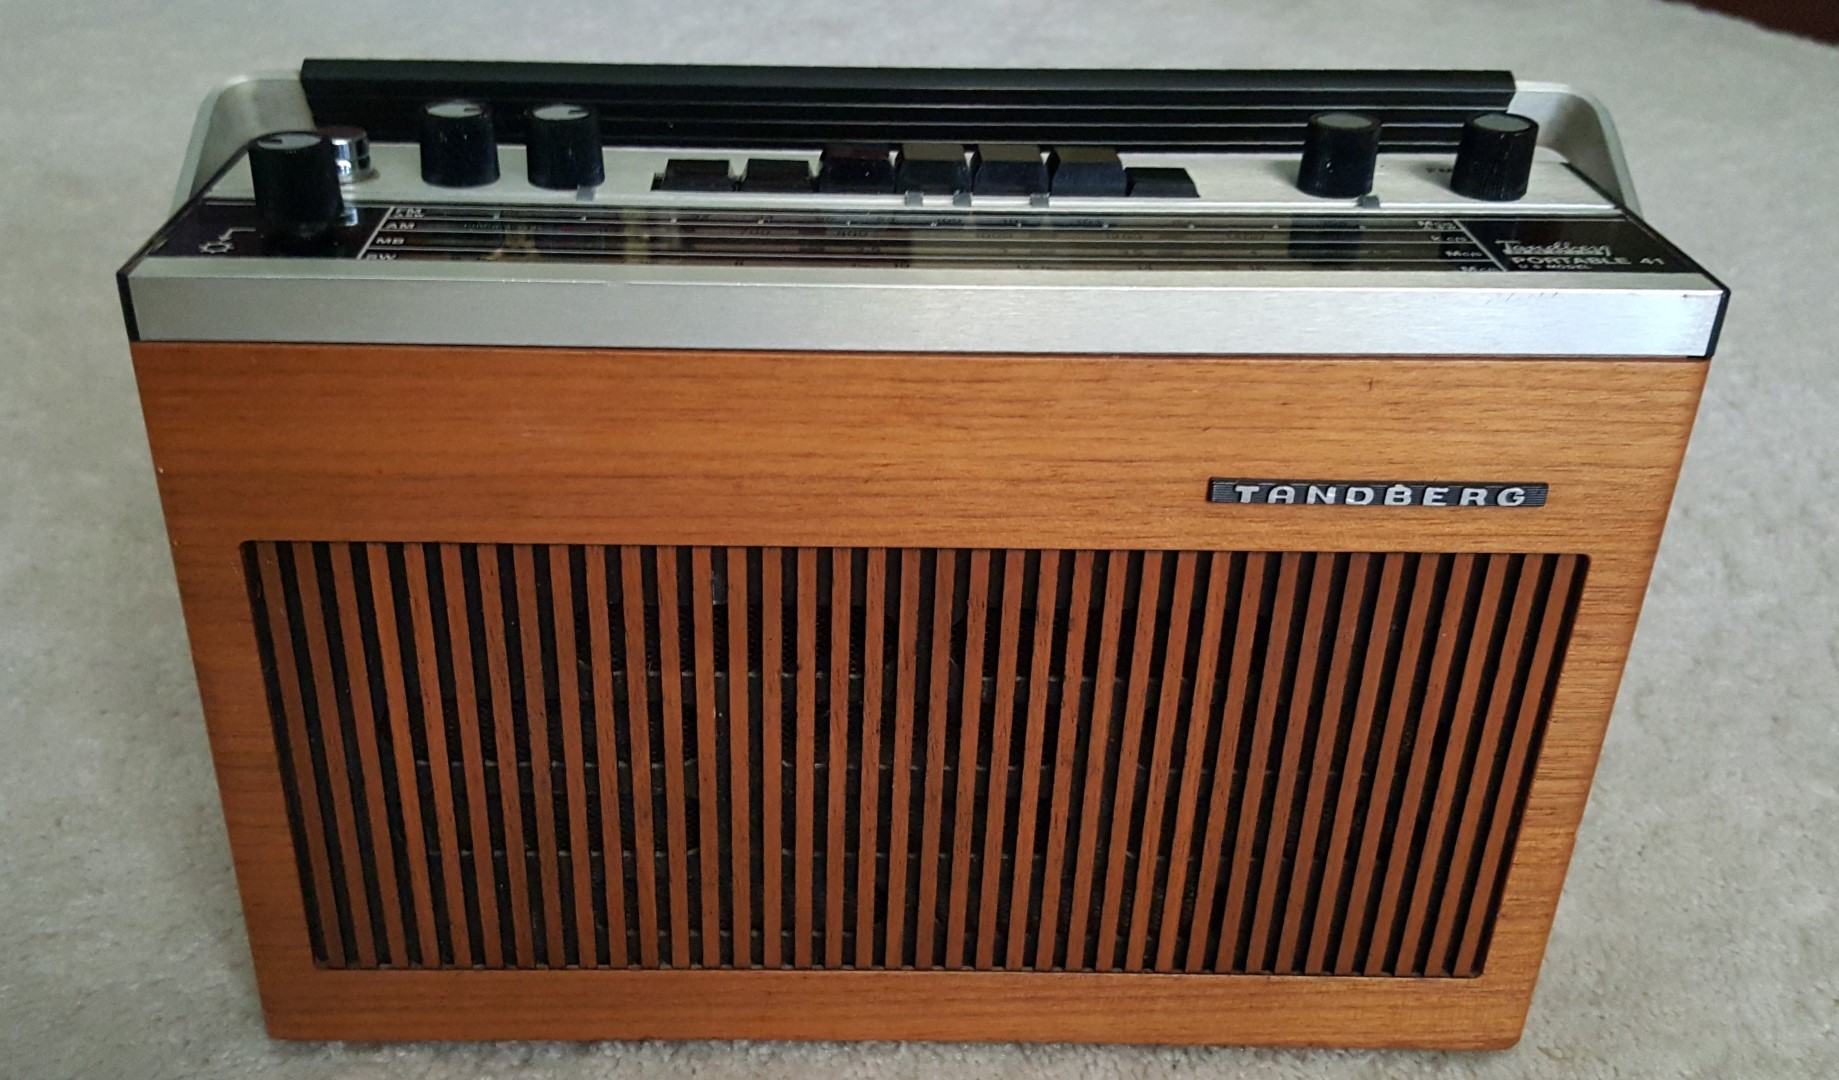 Tandberg Portable 41 (sometimes referred to as Model 41 or TP41) is a beautifully styled 1970’s era portable radio hailing from Norway, in a deluxe wooden case. It measures approximately 11.5″W, 7.5″ H and 3.5″ D. This radio was donated to me by a loyal reader who discovered the model and I thank him for it. I must admit I fell in love with its looks the moment I saw it and my feelings for this radio have not diminished over time. It has a few unusual
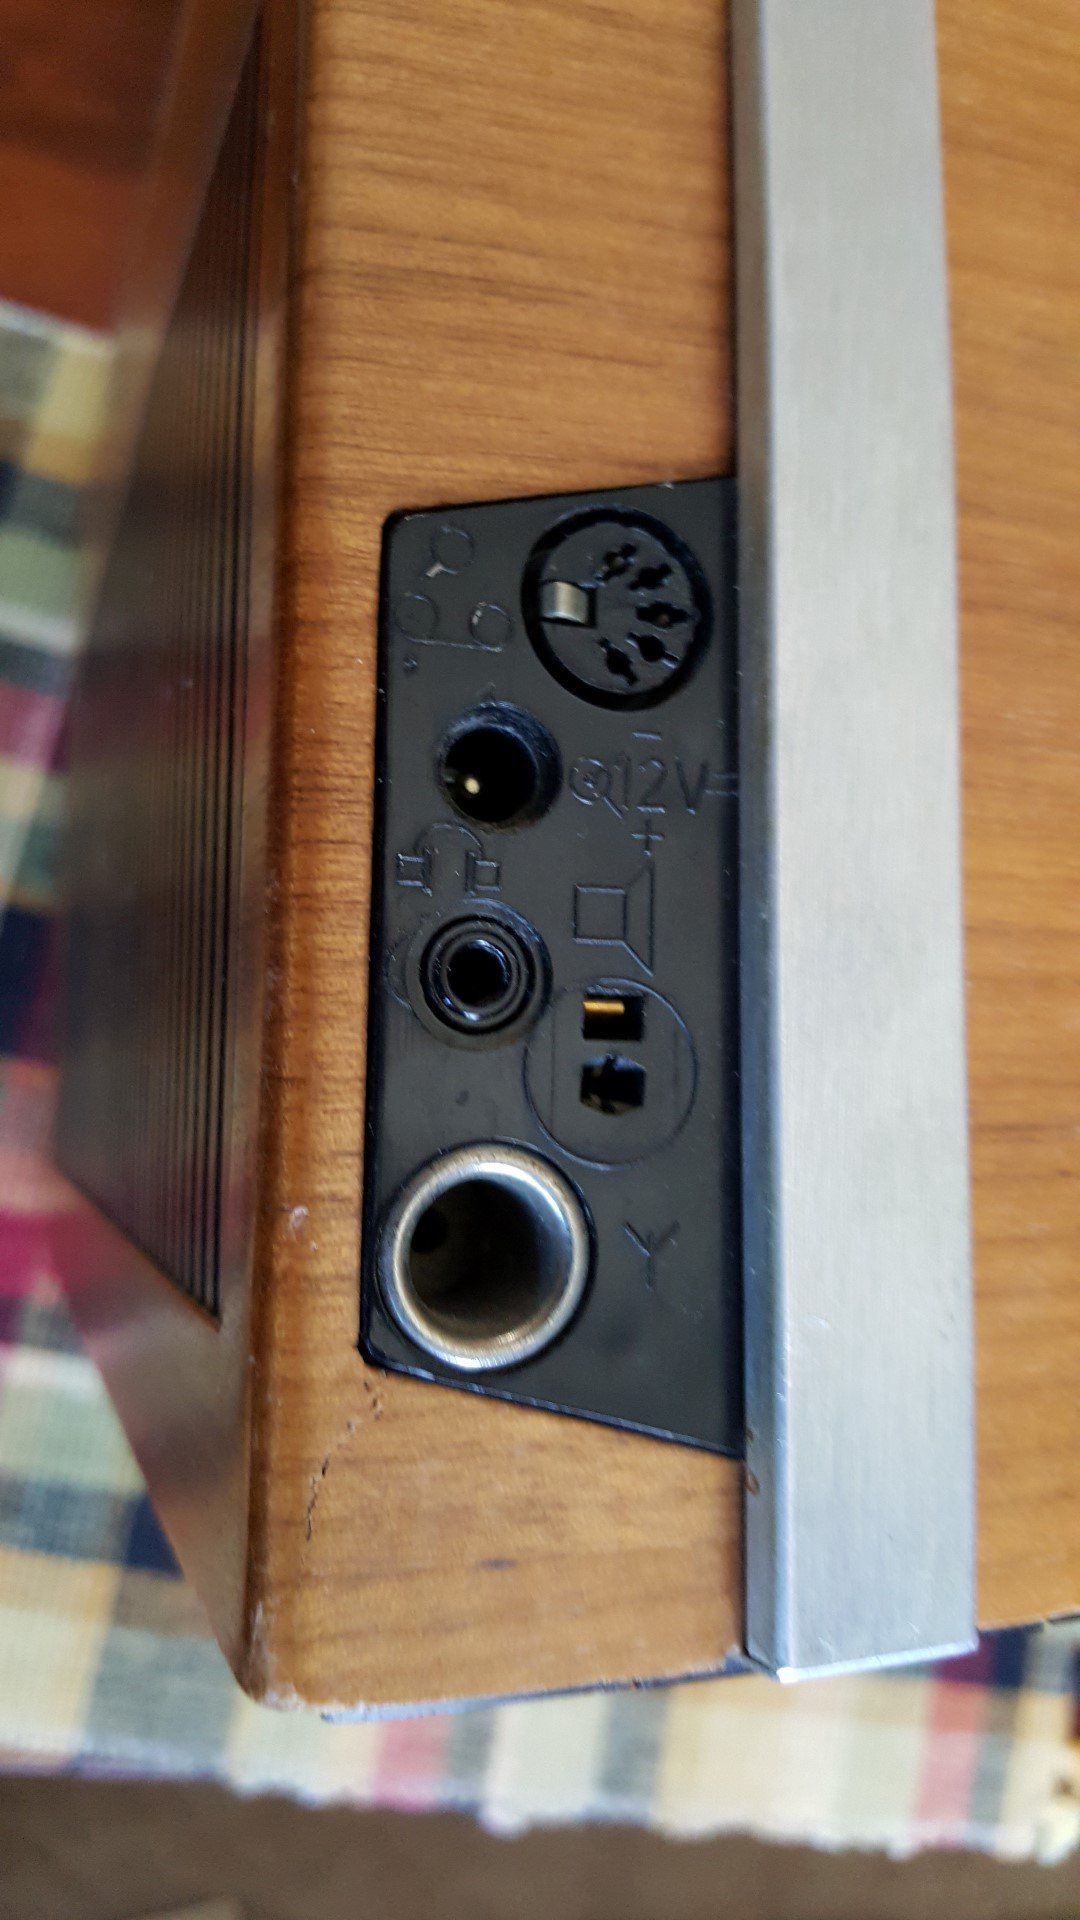
 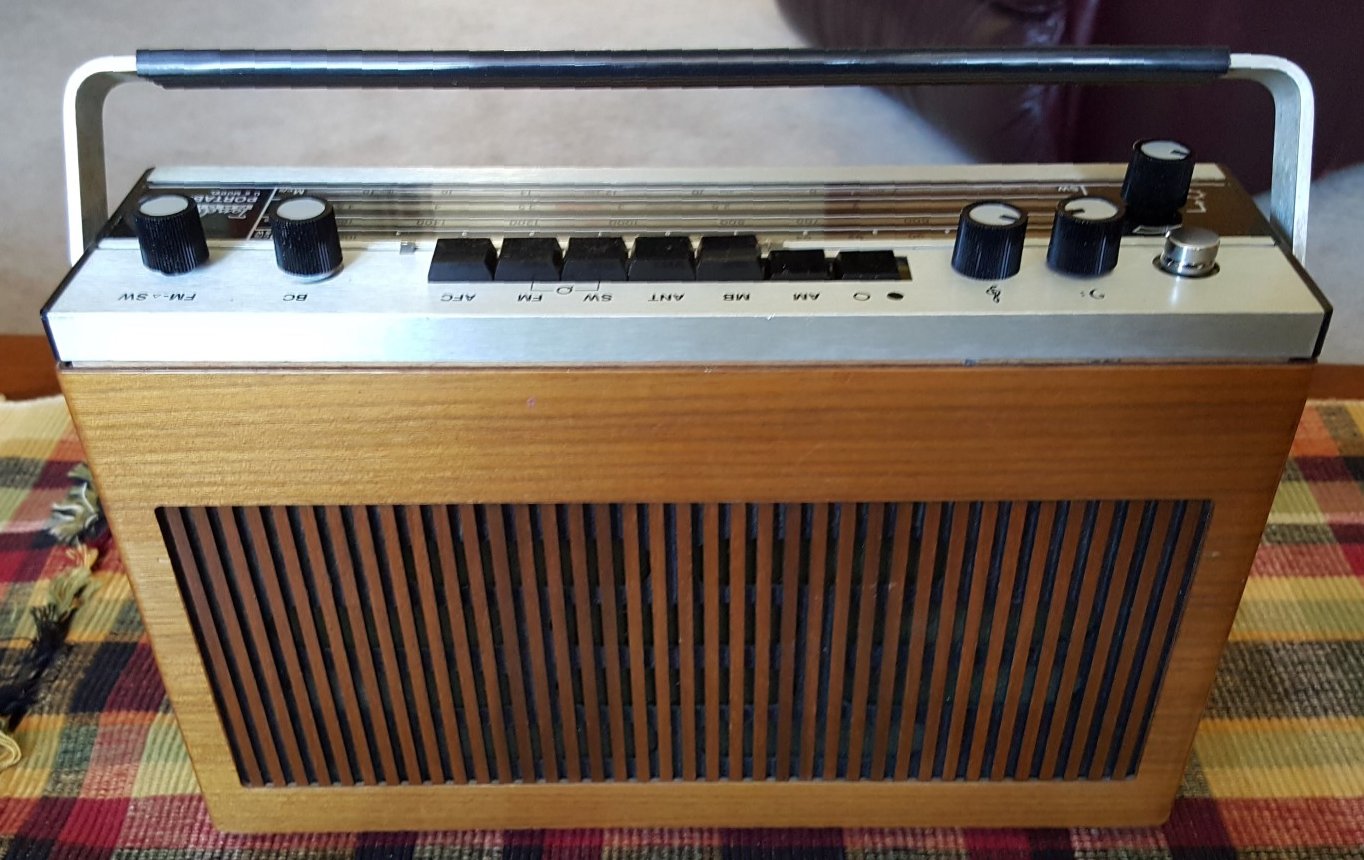 characteristics as we’ll discover, but overall it is one of the nicer radios in my collection because it offers excellent AM reception and sound. It runs on 6 D cells which provide very long battery life, or it can be powered by an external 12-volt power supply. Being a 70’s vintage European radio the Tandberg has a DIN connector for audio in and out, a Motorola type jack (a standard US car antenna jack) for an auxiliary antenna for all bands, a 12-volt input jack, ¼” headphone jack and a Euro-style speaker output jack. There was a car adapter for the radio once upon a time…many of these European radios with their dial faces on the top edge were designed for dual use in a car where they slid into an under-dash bracket and pulled out for use as a portable. There is a row of connectors on the bottom of the radio which made contact with the car adapter when the radio was slid into it to automatically connect to the car’s antenna, speaker and power. There is a dial light which stays on as long as you press down on the volume knob…this light is on full time when running on external power.
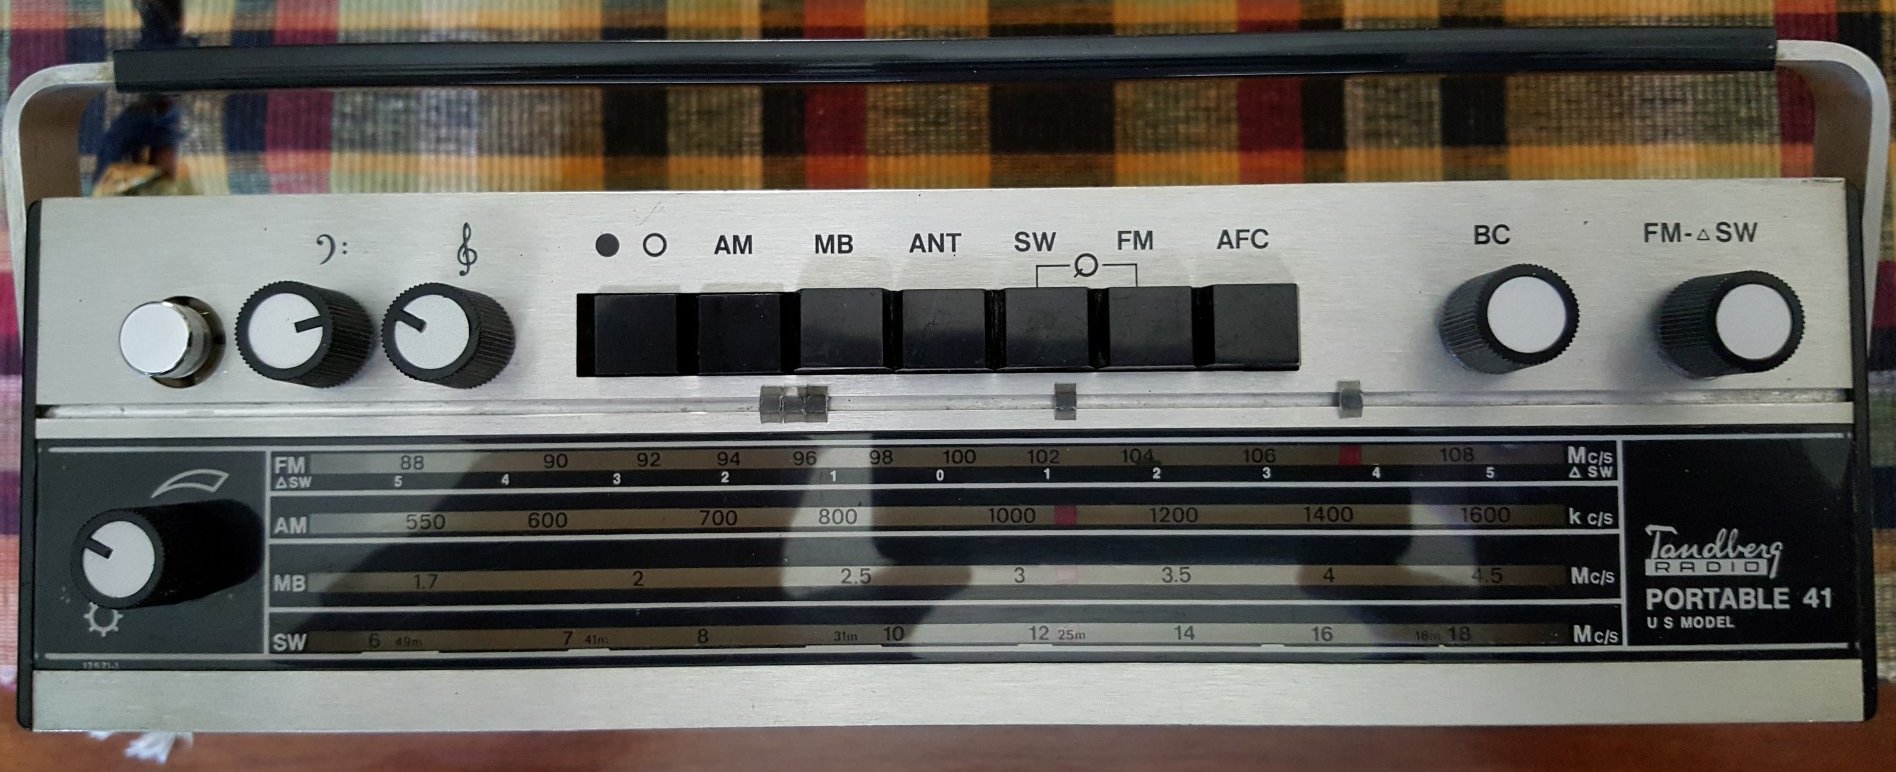 Versions: The Portable 41 is available in at least 2 versions which accounts for the multiple model names I have found while researching this unit online. The unit reviewed here is marked “Portable 41 US Model” on the face plate, while the bottom panel has TP41 molded right into the plastic. It covers MW (AM) from approximately 520 – 1640 KHz, MB (formerly known as the Marine Band) which is shortwave from approximately 1.7 – 4.5 MHz and SW from 6 – 18 MHz. I don’t have actual specs on band limits for the US version so I am going by the dial scales and my own test bench measurements. The service manual which is widely available online is for the European version which replaces the Marine SW Band with the Longwave band. This made alignment tricky as some of the indicated LW adjustments affected MW in my radio and some of the MW adjustments affected the Marine Band. After trying to sort out which adjustments were which and making notations in my manual most of the alignments were accomplished. It did benefit from this as the frequency indications were initially too far off to be acceptable – for example an AM station at 1410 KHz came in at about 1350 on the dial. This amount of misalignment is also a good indicator that actual performance won’t be up to specs. Fortunately, after I was done the dial scales were very accurate and reception was indeed better.
Note: I was never able to locate a Service Manual for the US version which dispenses with LW and instead has Marine Band (SW 1.7 – 4.5 MHz). If anyone can provide a copy of that service manual to me I would very much appreciate it!
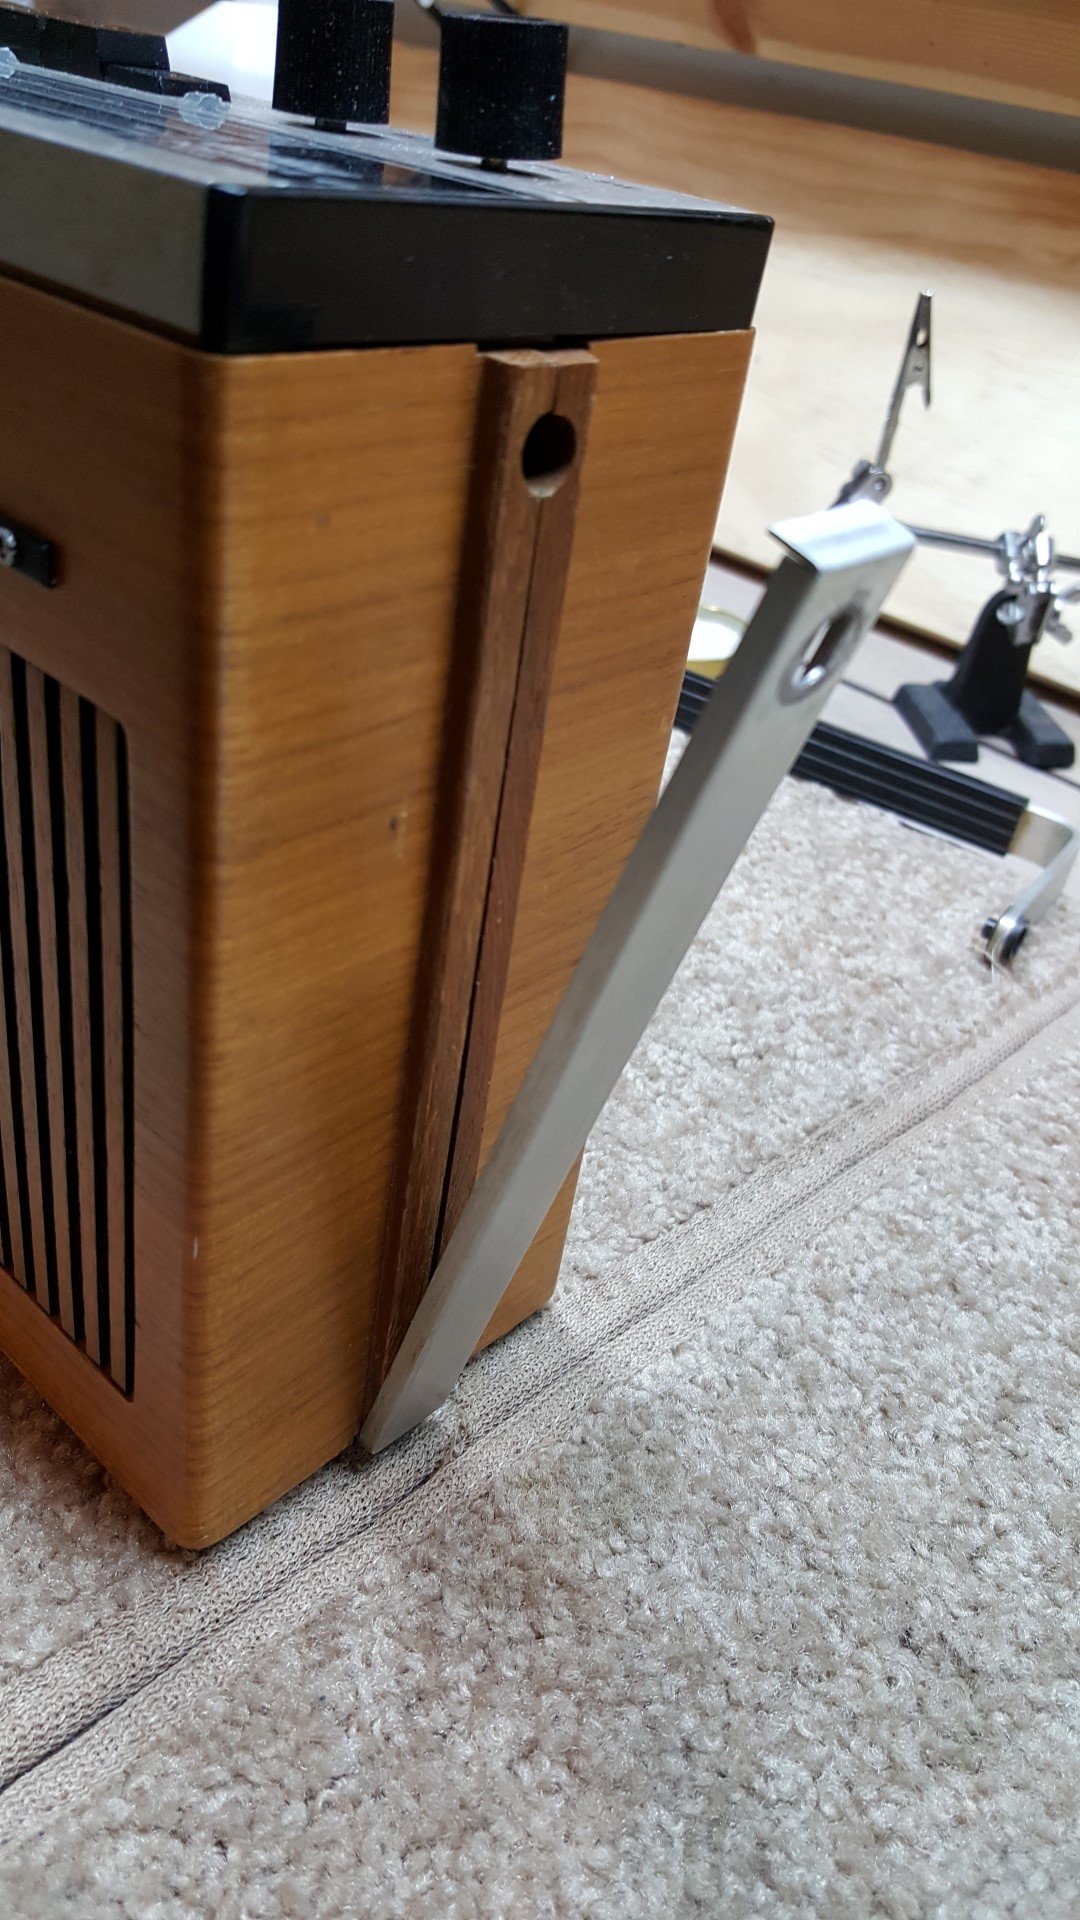
Remove Handle – Pull Trim Strips Outward And Down

Separate At Bottom Then Pull Out From Top Plate
Pull Out These Retainers
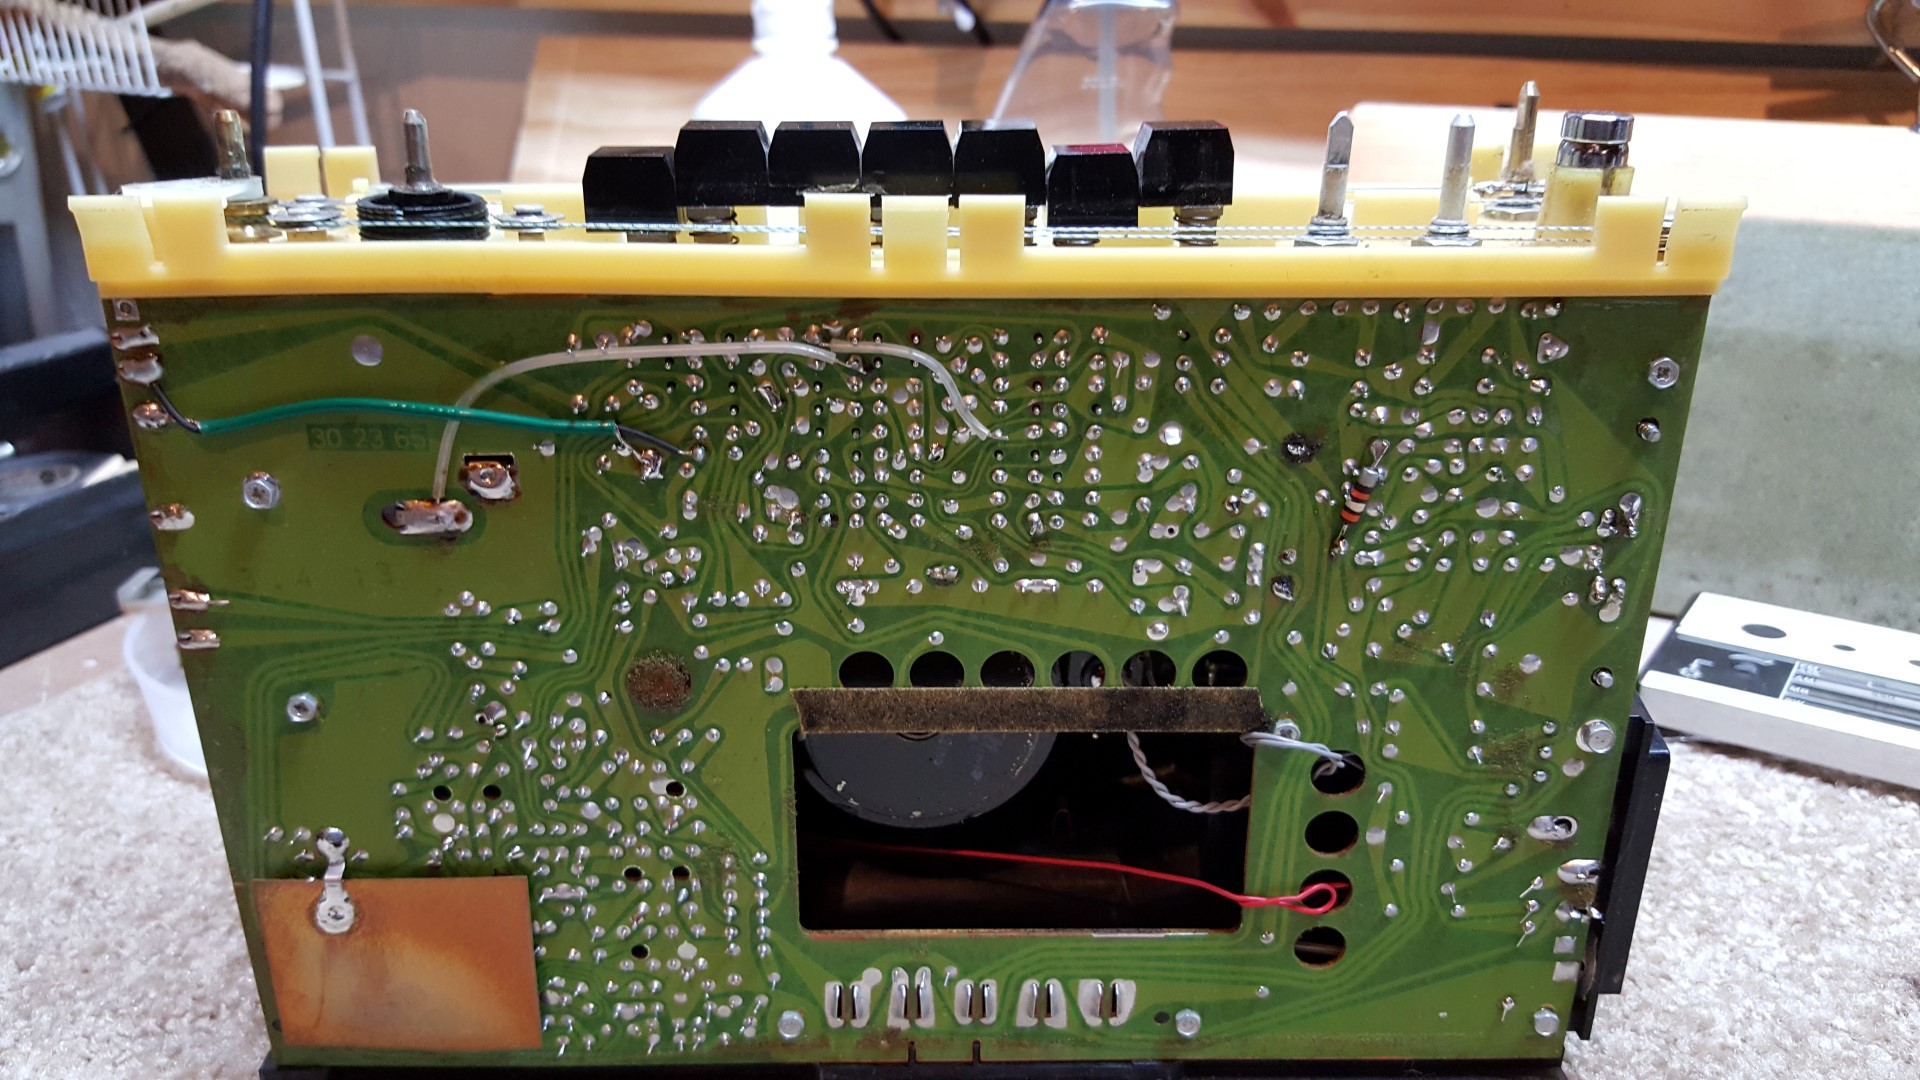
I said this radio had a few unusual design features…the first I encountered was a simple yet unique method of assembly/disassembly. After removing two screws on the sides of the handle and removing it, remove two vertically-running metal strips which, when pulled outward and down allow the two halves of the wooden case to separate. Pull them down from under the top panel and remove to expose both sides of the chassis. Remove two more retaining strips as shown. Then you remove 4 screws to pull out the speaker, followed by more screws holding the battery compartment to the chassis to move the battery holder away from the circuit board. You can then pull off all the front panel knobs and remove the top plate. This is all much easier than it sounds – service access is very easy on the Tandberg.
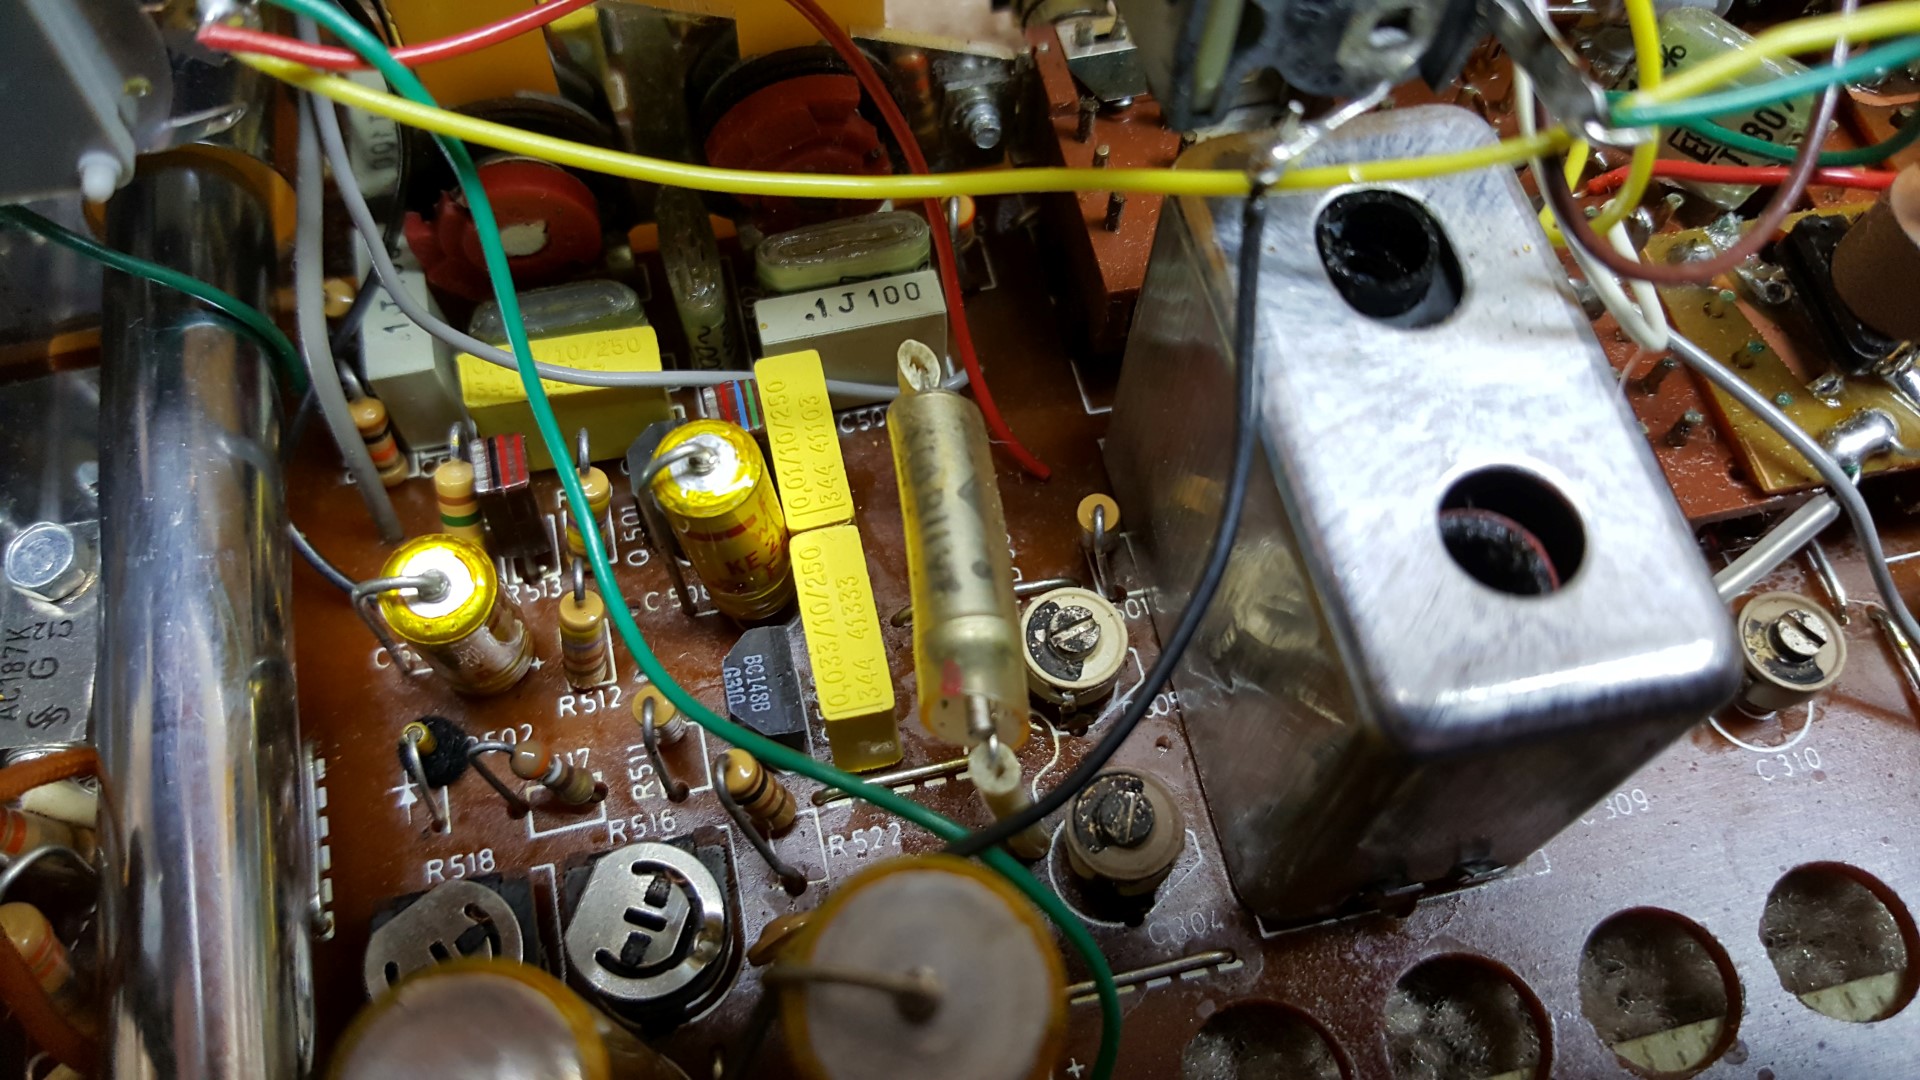
Stabistor In Center With Clear Plastic Sleeve
A more unusual aspect of this radio’s design is something called a “Stabistor”, an unusual 1.5 volt voltage regulator which controls transistor bias. It is highly failure prone and when it fails the bias voltage increases causing distortion and squealing noises. You may notice a powdery residue near one end. The ideal solution is to replace it with a network consisting of 2 silicon diodes (.6 v each) and a germanium diode (.3 v) in series with a 220 uf electrolytic capacitor across them which will give you 1.5 volts. This is similar to what was done on the following model TP43. Another workable solution is to use a single red led lamp which will provide about 1.8 volts bias. There is some information on the radio in general and the stabistor here: http://www.vintage-radio.net/forum/showthread.php?t=13634
My radio appears to have had its stabistor replaced with a newer one at some point and it still works properly, measuring 1.56 volts, so for now I have left it in place but I have been advised that when these radios are put back into service the stabistor often fails so I will probably have to replace it eventually.
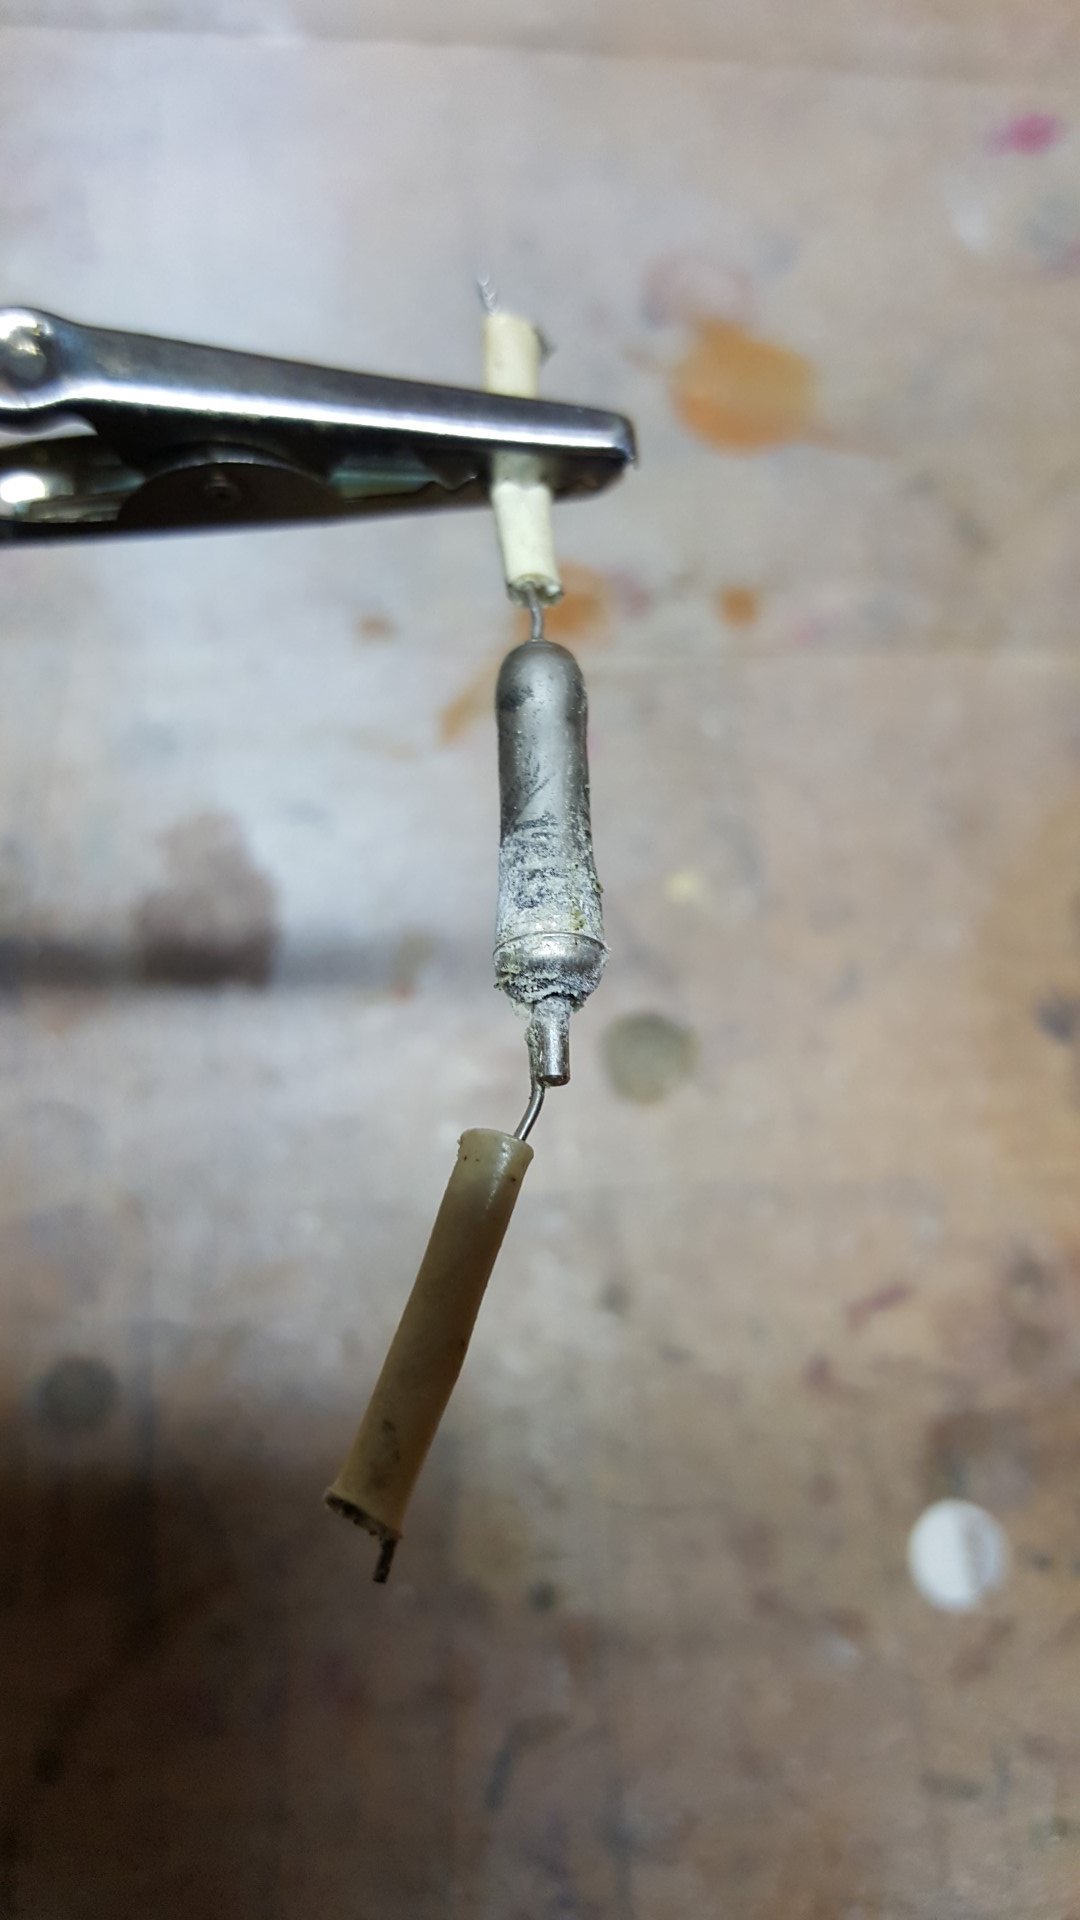
Failed Stabistor – Plastic Sleeve Removed
UPDATE: That’s exactly what happened! After almost a year of use, one day the radio was suddenly squealing and distorted…it was completely unlistenable. I opened it up and now measured 3.4 volts across the stabistor and indeed, there was that powdery gunk at its positive end. I replaced it with the diode/capacitor network described above and now the voltage measured 1.56 volts. The radio is now back in service and sounding as wonderful as ever.
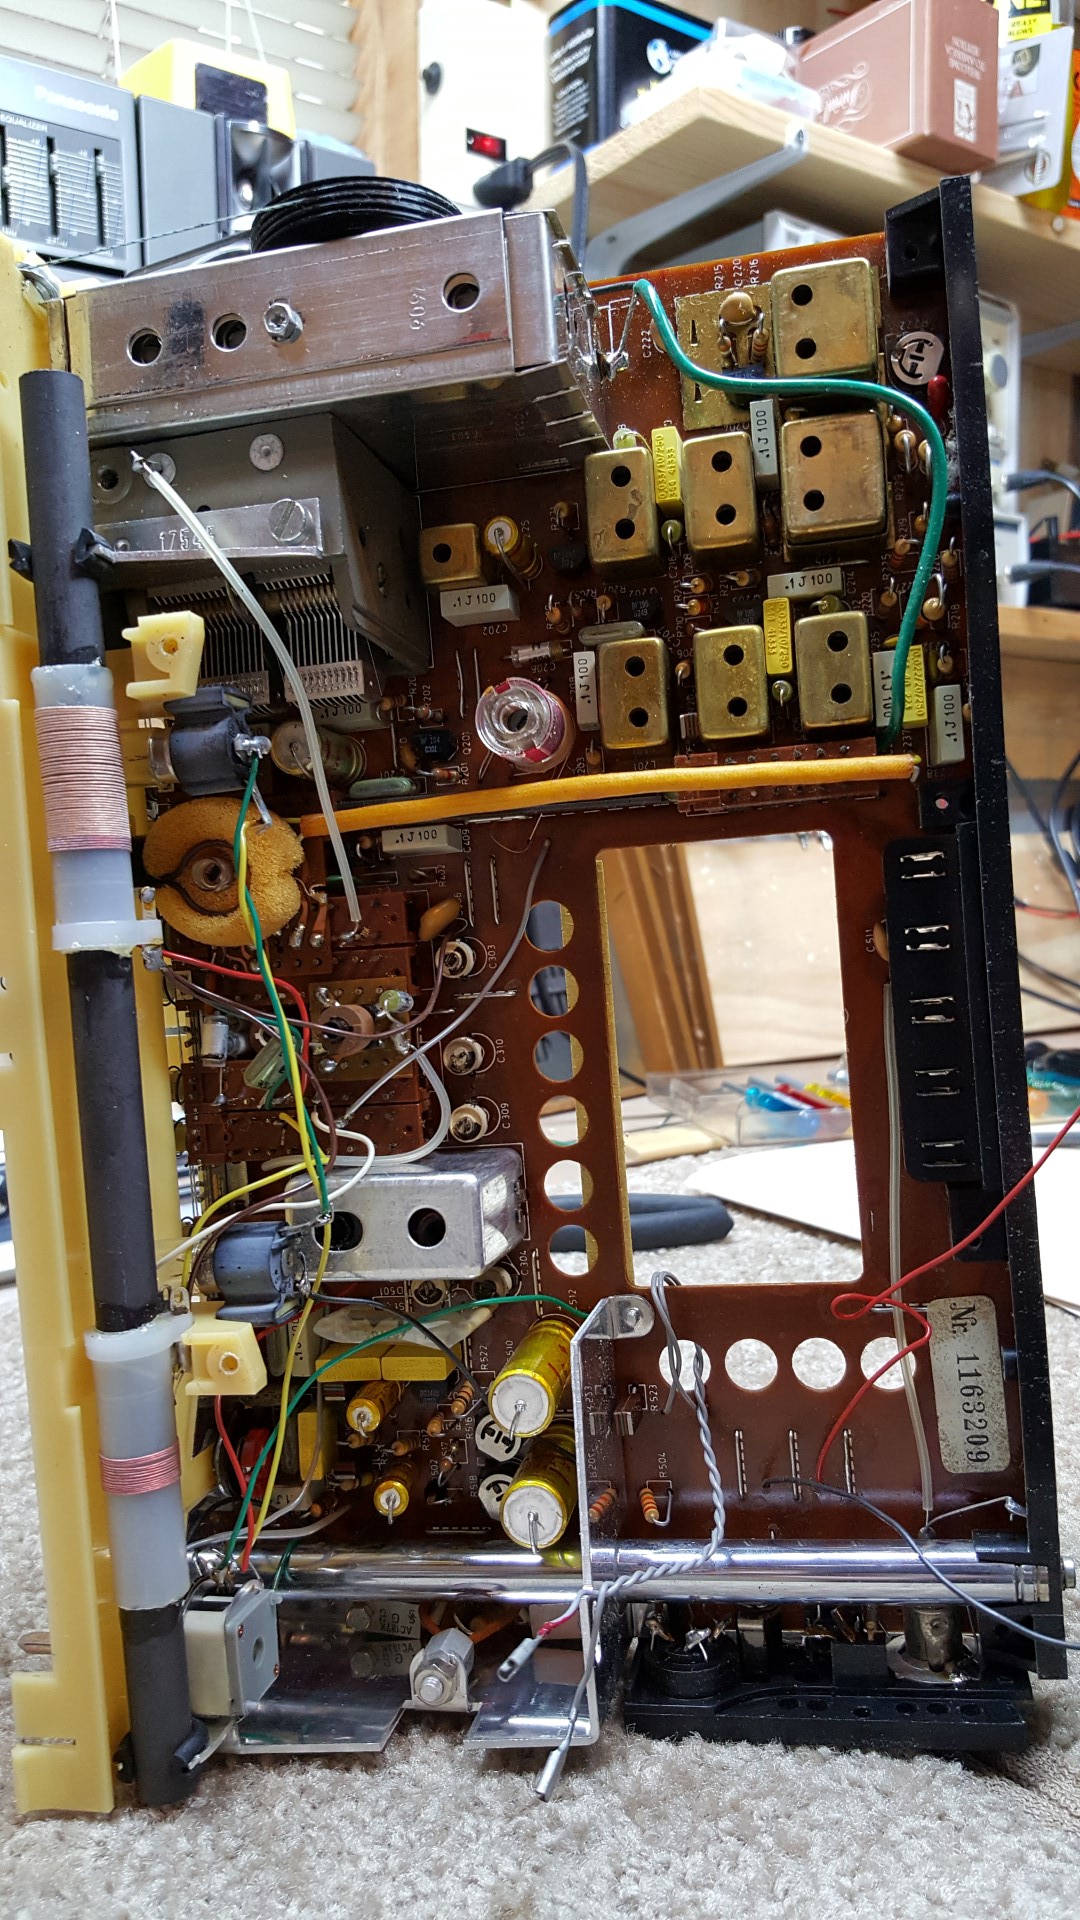
Very Good Access For Service
 a
a

Clean Gunk Around Tuning Shafts
I’ve also been told to be on the lookout for a binding tuning shaft which can be cleaned and lubricated right where it passes through the top plate if needed. Mine was not binding but I did clean up lots of old lubricant and gunk in that area and I added a drop of lube to the shaft. I recommend a product called Kroil as an excellent all-around solution for removing and replacing failed lubricant. Be careful to keep dial cord clean and free of lubricant.

Unusual Tuning Arrangement (See Text)
Still another very unusual design feature is the Fine-Tuning arrangement on SW and lacking an owner’s manual I was at first clueless about it. Notice there are two tuning knobs; one is labeled BC and the other FM-SW. Normally the BC knob tunes all bands except FM which is tuned independently, itself a nice feature as you can leave one band where it is while tuning another. But why is the FM knob labeled FM-SW when SW is normally tuned by the BC Knob? And why is there a triangular linking mark between the FM and SW band selector push buttons? As it turns out, if you depress both the FM and SW buttons you will be in SW mode, with primary tuning still done by the BC tuning knob, but the FM-SW knob now becomes an extremely fine tuning control with the ability to vary the frequency by +/- 5 KHz over the entire length of the slide rule dial and indicated on the small SW scale at the bottom of the FM scale with 0 in the center. Amazing!

Fine Tuning Linkage

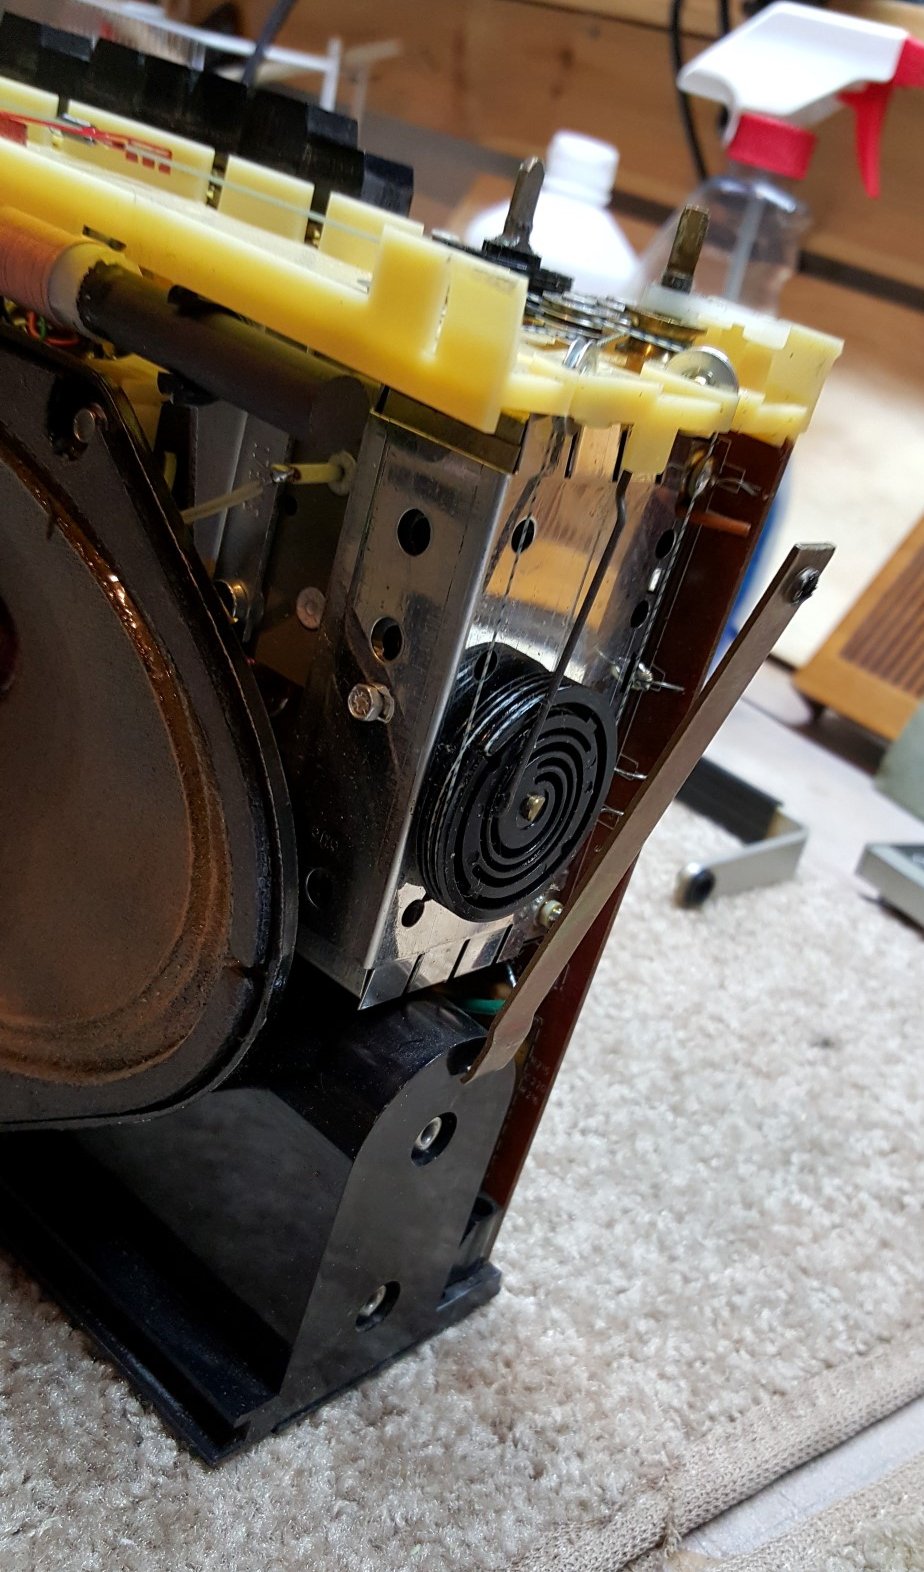
Coil Surrounded By Wire Loop & Foam
Even more amazing is the way this fine tuning is accomplished internally. In the picture you see a metal rod attached to the tuning pulley. It is connected through a mechanical linkage to a wire ring which you see in the next picture surrounding a coil supported by a foam collar. My first reaction was, “What the heck is that?” Well as it turns out the foam is there to guide and protect that metal ring which moves up and down along the coil, changing its inductance as the fine-tuning control is operated through its range. This is odd to say the least…this is the only radio I’ve ever seen which employs such a design, but what can I say…it works and provides extremely fine tuning for SW. Someone worked overtime to come up with this odd but clever design. Just when you think you’ve seen it all….
Before Refurbishing
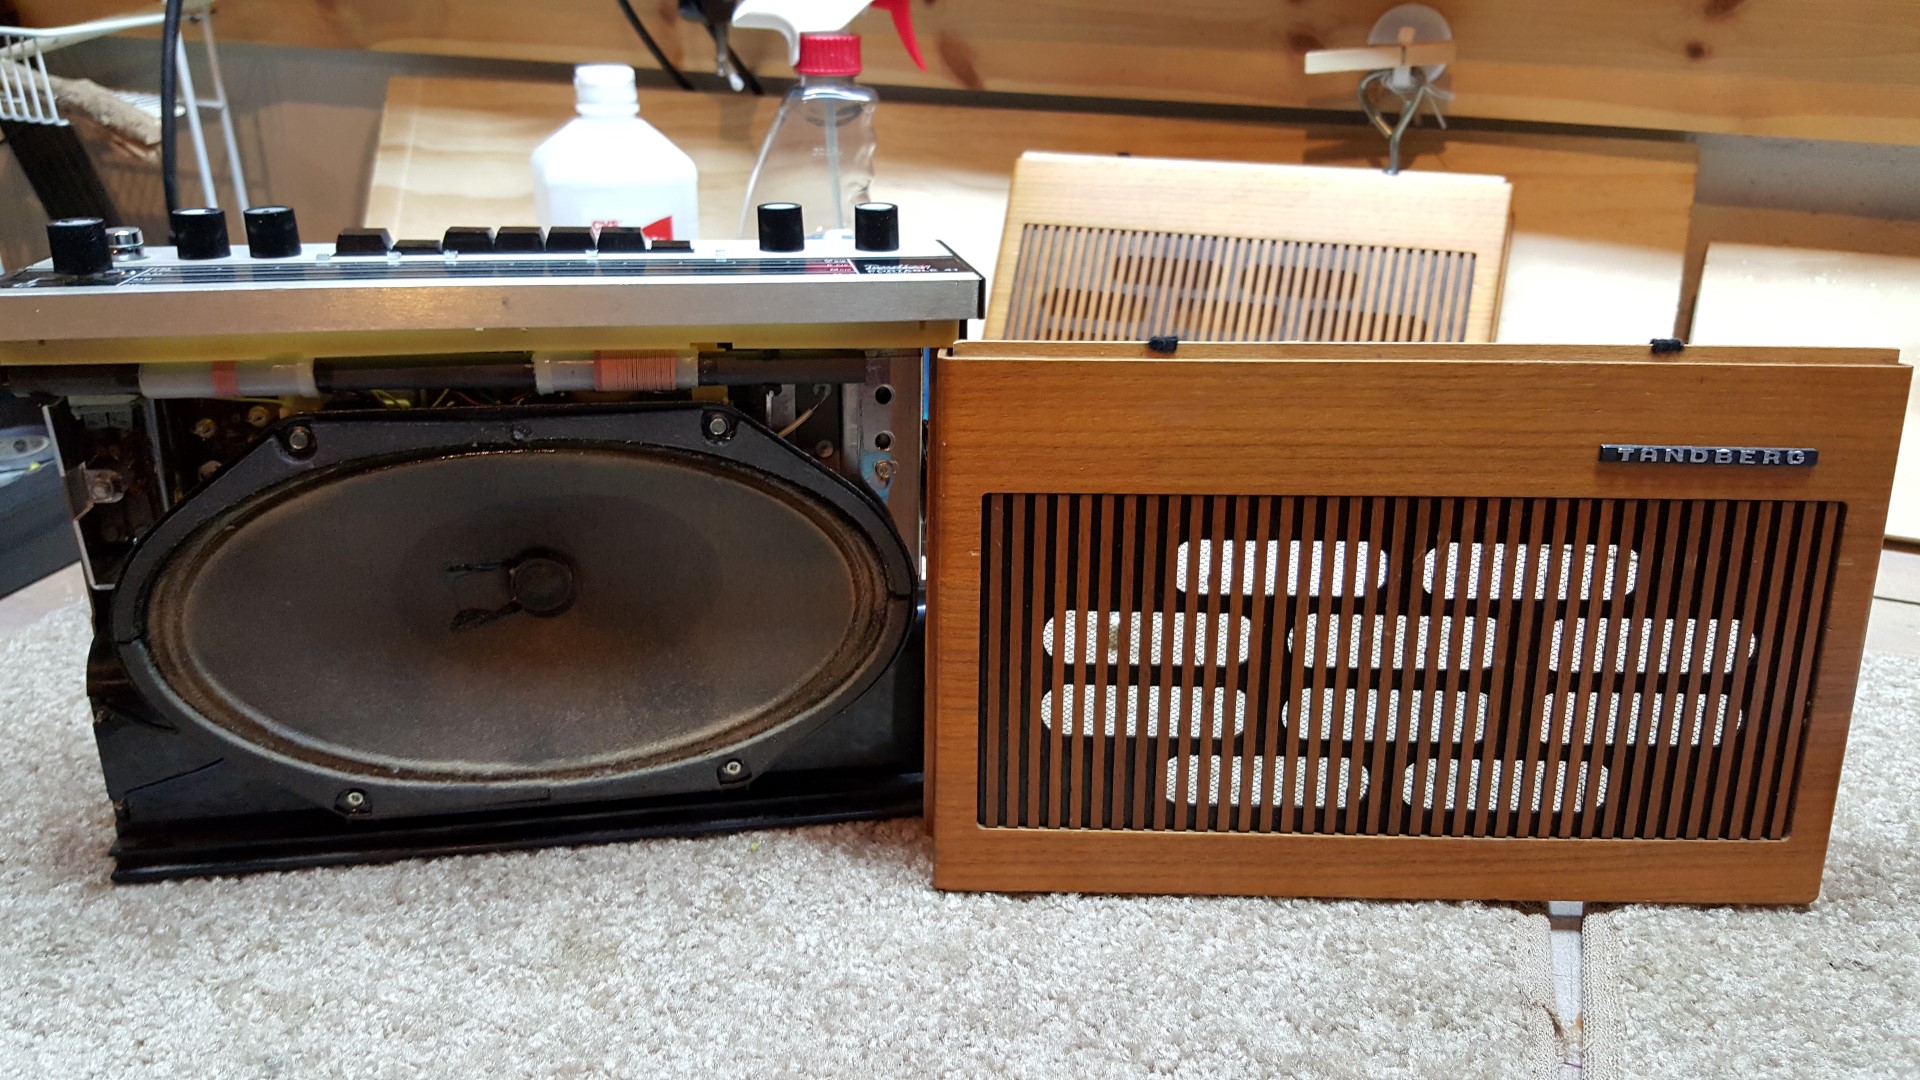
Wow! Big Speaker = Big Sound

Freshening The Wood’s Appearance With Min-Wax Stain
Performance: OK. Enough about the oddities of the Portable 41…how does it perform? Quite well as it turns out. You will notice that the front panel is literally all speaker…a giant 9” x 5” oval shape far larger than that found in most portable radios. Backed by a powerful amplifier the Tandberg pours forth plenty of pleasing audio and the bass and treble controls have a wide range to suit the program material and your tastes.
While AM audio quality is good – very powerful and clean, the TP41 sounds even better on FM, with wide range frequency response, low distortion, excellent clarity, naturalness and pleasing overall tonal balance. You can get even more audio power when running on external power but it’s still very robust sounding on batteries.
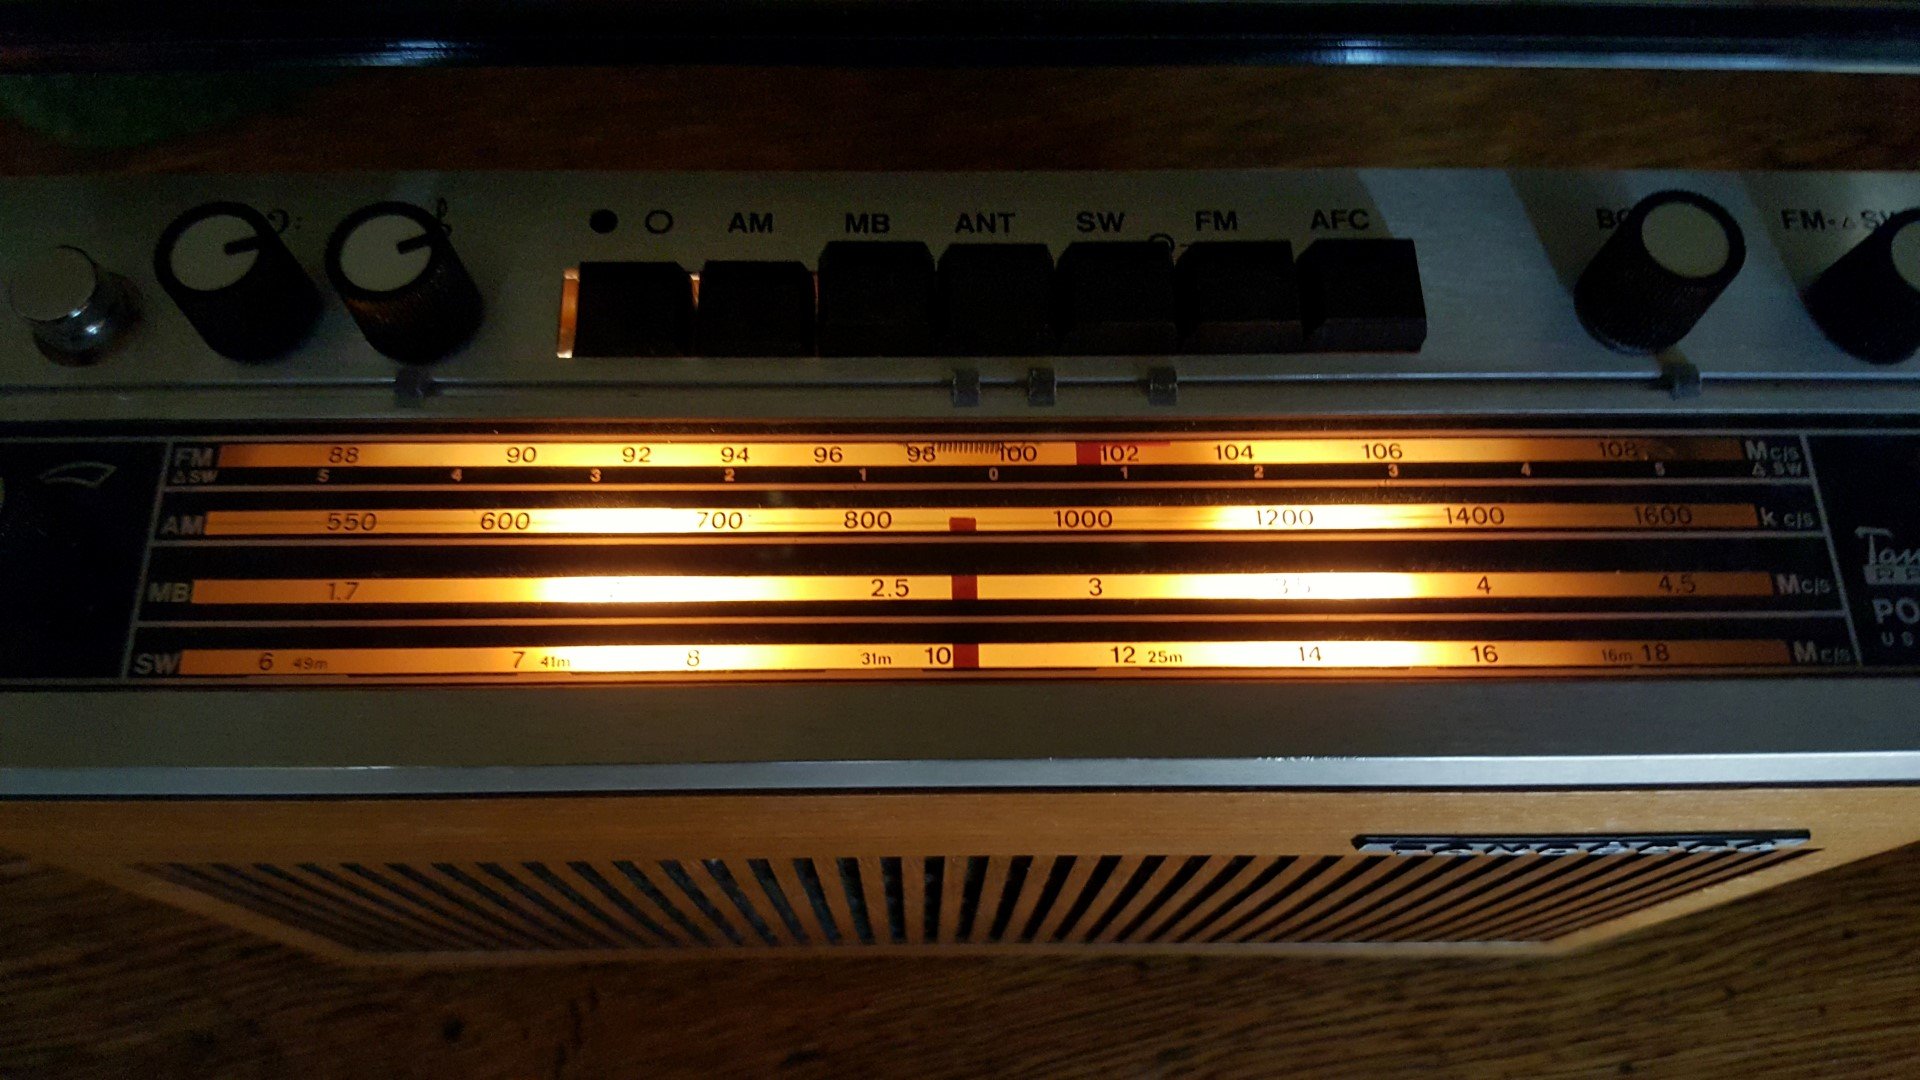
Great Dial Lighting
The RF performance is excellent too. AM and SW are quite sensitive and selective although there is an approximate 4.5 – 6 MHz gap in SW coverage. FM, although not as selective as some of today’s better DSP-equipped portables is nonetheless relatively sensitive and good enough for most purposes…my usual stations all came in loud and clear. The dial light is a helpful feature too. AM reception earns ****1/2 in my AM Mega Shootout Article.
FM Rates *** In The FM Mega Shootout Article.
Conclusion: The Tandberg Portable 41 is clearly one of the more unique radios in my collection. Many European radios of the era have unusual designs by American standards, especially some of those meant to double as car radios with their beefier-than-usual amplifiers and speakers. The ITT 101-102-103 series (see my review) falls into this category. But the Tandberg is unique unto itself with its innovative and unusual fine tuning arrangement and it’s “stabistor” which, although evidently seen as an expedient design back in 1970 seems less forward thinking today than it might have been. At least it’s an easy fix once you know what to look for.
But the overall excellent performance of the set was achieved through traditional methods – a large AM ferrite rod antenna, low noise RF design, powerful amplifier and a good quality speaker. It’s not surprising the Tandberg performs as as well as it does.
The Tandberg Portable 41/TP41 has become one of my favorite radios. I love its sensitive reception and good sound, lengthy, well-calibrated slide rule dial and in its wooden case its overall appearance makes it a joy to behold.
This one is a keeper!

You must be logged in to post a comment.