C. Crane FM Transmitter 3
I have been using C. Crane’s FM transmitters since the original model was introduced many years ago. Their new FM Transmitter 3 is an upgrade over their previous Transmitter 2 which in turn was a substantial improvement over the original FM Transmitter.
I was very excited when the original model was upgraded it to the FM Transmitter 2 back in 2011. This review of the FM Transmitter 2 describes in detail how the FM 2 was improved over the original model and how to use it to best advantage. All of this information also pertains to the FM Transmitter 3 but the 3 does have some further upgrades which are worthwhile. Once again, C. Crane has taken a singularly-excellent product and made it even better. The most obvious improvement is that the frequency range has been expanded and now spans 87.5 to 108 MHz whereas the FM 2 only covered 88.3 – 107.7 Mhz. (Interestingly I have a few different owner’s manuals for the FM 2 and one shows the expanded range but none of my FM 2s are like that). Download The FM Transmitter 3 User Manual from C.Crane:

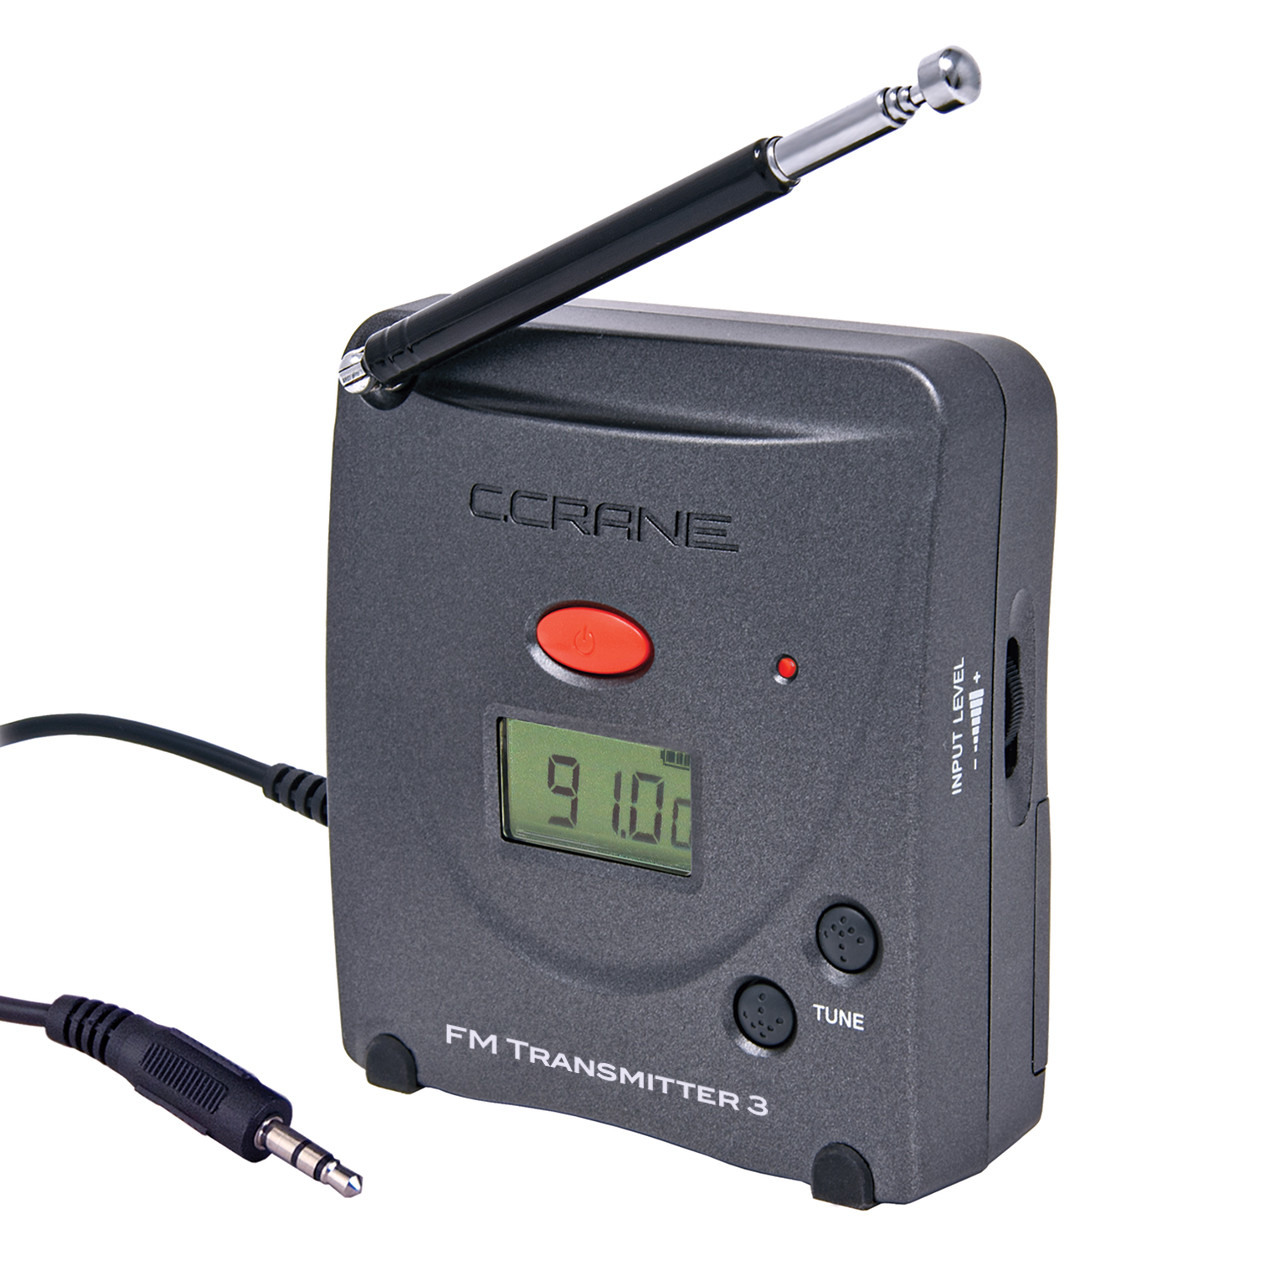
Basic Description & Specifications: The FM Transmitter 3 is a miniature FM radio station which can transmit audio from just about any audio source to a nearby FM radio. It is based on the Silicon Labs Si4720/21-B20 Chip.
Size: 3 ¼” x 3 ½” v 1 ¼”
11” Whip Antenna
Power Source: 2 AA Batteries or External AC Power supply (included): 5V 100mA; center tip negative; 5.5mm x 2.1 mm, female tip.
DC Input Jack 3-6V; center tip negative)
Tuning Range: 87.5 – 108 MHz
Audio Input: 1/8” Stereo Miniplug with Mini to dual RCA Plug adaptor (included)
On/Off/Auto Off Button
Thumbwheel Input Volume Control
Green/Red Led Level Indictor
LCD Frequency/Battery Level/Auto Shut Off Display
In Use: The C. Crane FM Transmitter 3 is simple to use…perhaps the most difficult thing is to find the best FM frequency to use in your location. In some areas today’s FM band is extremely over-crowded and it can be hard to find a clear frequency. Of course, you don’t want to transmit on top of any regularly receivable stations. Likewise, it is best to keep away from frequencies immediately adjacent to an FM station. For example, if there is a receivable station on 90.5 you would try to avoid the first adjacent frequencies of 90.3 or 90.7. So-called second adjacent frequencies would be 90.1 or 90.9…better choices but even further spacing would be desirable if possible.
I use an old desktop PC as a music jukebox feeding my transmitter. (Actually, being a retired radio guy, I also have an audio processer between the PC’s output and the transmitter input which makes the sound more consistent from one song or program to the next but this is completely optional…I would venture to guess that most home broadcasters don’t bother with this).
I use a second transmitter plugged into my /Sirius/XM radio so I can stay connected to those stations around the house…very cool indeed! Another good idea would be to feed an internet radio to your transmitter to be able to hear it on radios around the house. Whatever your program source, the FM-3 Transmitter is easy to connect…either plug its mini jack cord into a line or headphone output or use the included RCA adapter to plug into components so-equipped.
The FM-Transmitter 3 comes with an AC power supply or it can run on two AA batteries. It will also automatically switch from AC to battery in the event of a power failure so those AA’s can provide seamless operation even if the power glitches or goes out completely…a nice feature.
Setting The Audio Level:
It is very important. If you are using a fixed Line Level output simply adjust your transmitter’s volume control for the proper level, but if you are taking audio from a headphone jack or similar volume-controlled source you have to adjust the volume of that source equipment to get a comfortable level going in to the transmitter. Too high a signal level going in and you may get distortion…too low a signal level and you might get increased noise. Generally, start with a low to medium setting on the source component and go from there. In a nutshell you generally want your source’s volume control and your transmitter’s volume control to be in the comfortable middle portions of their ranges.
You can then adjust the transmitter’s volume thumbwheel to get the proper indication on the LED indicator. Here I noted a difference between my FM 2 and FM 3 transmitters. This LED flashes green at normal volume levels and red on higher peaks but the red LED triggers much earlier on the FM-3 which would have caused me to set its volume too low. On the FM 3 the LED flashes red fairly frequently at the optimum volume level whereas on the FM 2 that much red would be too high. I bought a second sample and verified it was the same way. However, this needn’t affect the final performance…with any device you will soon learn how to interpret the LED’s indications. You have to listen to the sound quality to judge if you are pushing the audio too hard. The best reality check is to compare your signal to several other stations on the dial. You will find that some stations will sound louder than others…they achieve this by the use of highly sophisticated and expensive audio processors which squeeze out the maximum loudness while still preventing over-modulation. A home transmitter will never sound quite this loud but that is not important…the important thing is to adjust your transmitter’s volume then listen carefully to see when it seems right. You’ll get better with this over time. Although the FM 2 and FM 3 LED’s seemed to be set differently the actual performance of the two transmitters is the same in terms of modulation volume…only the LED indication is different. Each produces a clean, noise-free nicely-modulated signal. This calibration of the LED indicators may be something that could change with later production runs…if I learn any more about this I will pass it along here.
Audio Limiters: Speaking of volume level, the FM Transmitter 3 (and the #2 model before it) employ built-in audio limiting both to prevent over-modulation and to help you achieve a somewhat more consistent or louder signal by increasing the average audio modulation level without over-modulating. There are actually two volume limiters in the Si4720/21-B20 chip. First there is a fairly gentle dynamic range compressor which helps to bring lower volume passages up out of the mud while keeping louder ones from getting too loud…in other words it is increasing the average audio level. Secondly, there is a brick-wall filter that absolutely prevents pushing the audio into over-modulation. This is very audible and if you reach that point back off on the volume level a bit until the sound clears up. The specific characteristics of these volume management settings can be varied or defeated during chip setup and I would judge the settings used here are well chosen to enhance listening quality with few audible side-effects. I suggest you determine that your station’s volume is “in the ballpark” by comparing with other stations on the dial.
How Good Does It Sound? The best thing about the FM 3 (and the FM 2 before it) is their great sound quality. These are simply the best sounding FM home transmitters I have ever used and with a good quality source your “station” can sound excellent. Again, don’t expect to be quite as loud as the commercial broadcasters, but the FM-3 sounds amazingly Hi-Fi with a great signal to noise ratio, extended frequency response and low distortion…it can sound better than some of the grossly over-processed stations you might hear and in most cases will be limited only by the quality of your audio source.
How Far Will My Transmitter’s Signal Reach? Of course, this is everyone’s question and the real answer is that it can vary tremendously depending on several factors. The FAQ on C. Crane’s website specifies 40 – 70 feet, but understanding the variables and learning about what you can and cannot control can make all the difference. Here are a few of those points to be aware of.
Finding The Best Frequency is extremely crucial. Although there are online resources to help you find empty frequencies in your area these have never worked for me. My method is to take a sensitive FM radio with digital readout and walk around the house looking for frequencies which have no stations on them and which are not adjacent to local broadcast stations. You might want to do this at different times because FM signals do vary over the course of the day…not like the night and day difference we get on AM but still, FM signals are somewhat affected by environmental conditions and some signals may come and go. So check carefully…your frequency choice is one of the most important things you can do.
One trick would be to attach a short piece of wire to the telescoping whip antenna. I aim for roughly 31” of total length of whip and extra wire. A clip cord works easily for this but any wire will do…just strip bare one end of it and wrap it around the whip antenna and extend the wire as vertically as best you can…I use a push pin to hold it to a wall.

Interestingly I found that the signal from my FM 3 seemed just a bit stronger than from the FM Transmitter 2.
*For more intrepid users there is more that you can do to increase the transmitting distance…email me at for more info.
Conclusion: Most of my career was as a professional broadcaster but I’ve also been a home hobby broadcaster since I was 13 years old and I still love the ability to program my own radio station with exactly the stuff I want to hear…no station could possibly match the specific playlists I have created from my own music library. Most home FM transmitters suffer from poor audio quality, limited stereo separation, spurious noises or distortions. Some are fairly miserable, some just OK, but until the FM 2 and now the FM 3, few if any approached the sound of a real FM station. The C. Crane FM Transmitter 3 lets you do that with sound that, for all practical purposes, is as good as what you feed in to it. I use mine every day.
Recommended!

You must be logged in to post a comment.